
Documentation
Fonts and Typography
Add system, Google, and custom fonts and verify them in both 2D and 3D text workflows.
Fonts are shared assets. The editor supports system stacks, the live Google Fonts catalog, and self-hosted files or stylesheets.
Who this is for
Brand managers and catalog administrators
What you will achieve
Customers see only approved fonts, previews match the final canvas, and custom files load reliably.
Before you begin
- A Google Fonts API key for live catalog browsing.
- Valid webfont licensing for custom files.
- WOFF2 files when self-hosting modern webfonts.
Choose the correct source
Where to go: Assets > Font library > Add font
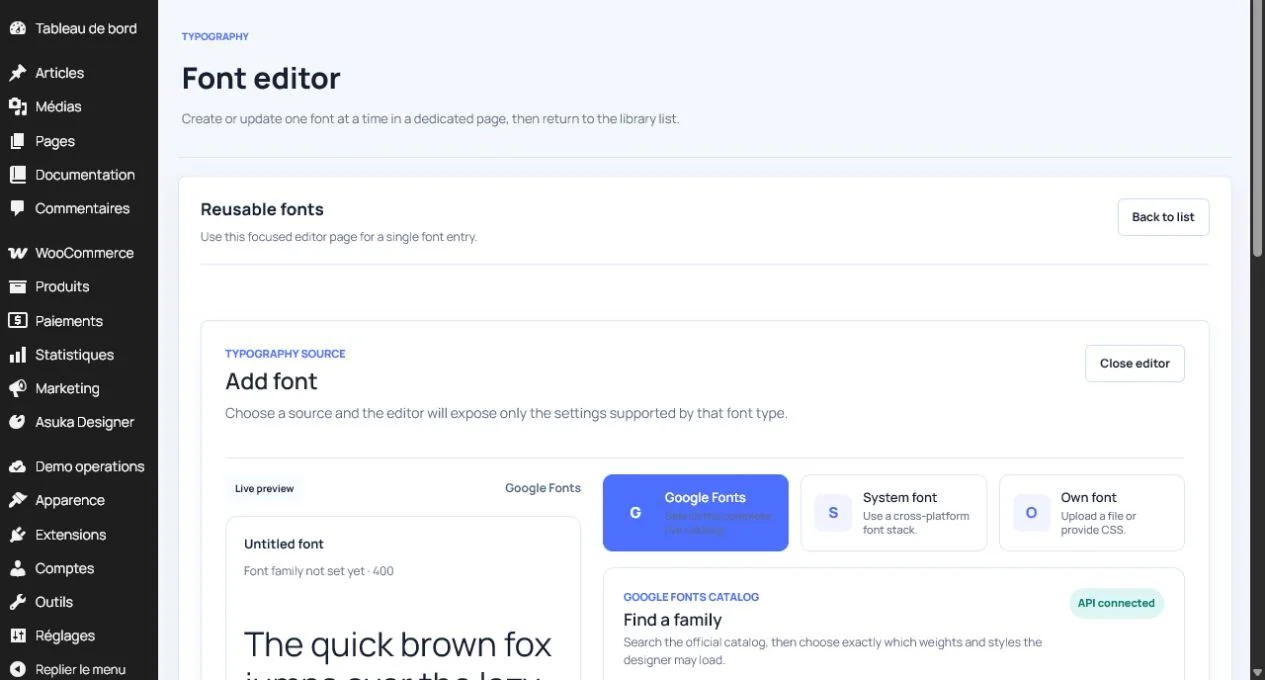
- Google Fonts: search the remote catalog and choose supported weights and styles.
- System font: choose a cross-platform fallback stack without downloading a file.
- Own font: upload a direct WOFF2, WOFF, TTF, or OTF file, or provide a stylesheet containing @font-face.
Add a Google Font
- Add the Google Fonts API key in Settings.
- Select Google Fonts in the font editor.
- Search by family name and choose a result from autocomplete.
- Select only the weights and styles used by products.
- Review the live preview.
- Set the public label, ID, category, and visibility.
Tip: Loading fewer variants improves customer page performance.
Add a system font
- Select System font.
- Search the cross-platform presets.
- Choose the family stack rather than entering a local machine-only font.
- Set the public label and category.
- Enable visibility and test on Windows, macOS, Android, and iOS when the exact appearance matters.
Avoid this: A system font may fall back to a different installed family on another operating system. Use a webfont when exact branding is required.
Add a custom font file
- Select Own font and Direct font file.
- Enter the CSS font-family name exactly as the file declares it.
- Upload or select the font file.
- Confirm or auto-detect the format.
- Set weight and style.
- Use one entry per file/variant when files are separate.
- Enable visibility and save.
Avoid this: The media URL must return HTTP 200 with a supported MIME type and appropriate cross-origin headers when hosted on another domain.
Use a custom stylesheet
- Select Own font and CSS stylesheet.
- Provide the stylesheet URL containing the @font-face declaration.
- Enter the matching family name.
- Verify the stylesheet and referenced font files are publicly accessible.
- Avoid duplicate @font-face declarations for the same family, weight, and style.
Verify typography in the designer
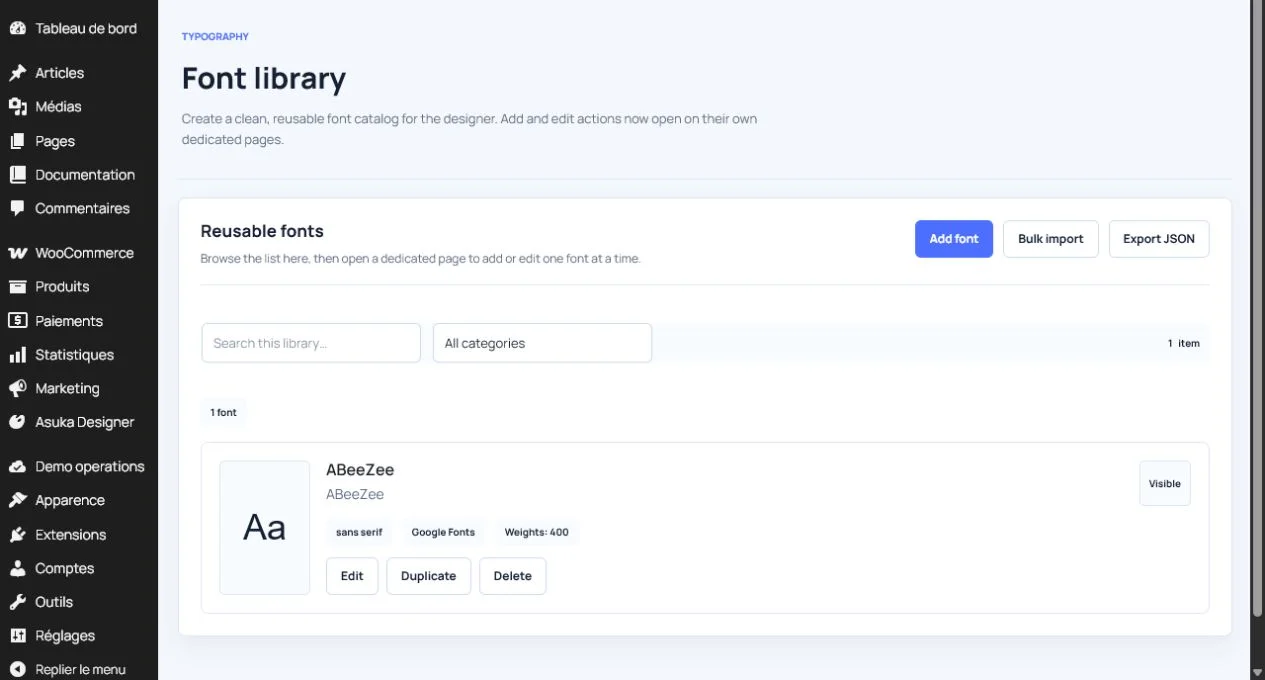
- Ensure the product Catalog filters include the font.
- Ensure the template exposes Text and Font family.
- Ensure permissions allow adding text and editing font family.
- Create text from the Text module and select it.
- Open Font family from the layout and selection menu.
- Test formatting, curve, undo, save/reload, 2D, and 3D surface text.
Success check: The font appears in the Text creation form and the selected-text Font family tool, and the rendered result persists after reload.
Need to verify the result?
Run Asuka Designer > QA & Diagnostics, then repeat the customer workflow in a private browser window.